Step 1. Access the Partner Portal
-
Log in to your bitesoft Partner Portal (credentials provided via email).
-
Update your profile and clinic details so patients can be matched correctly.
Step 2. Complete Training & Orientation
-
Join your live onboarding Zoom session with the bitesoft team.
-
Review the training resources in the Partner Hub.
-
Learn the workflow: how we manage patient acquisition → treatment planning → production → monitoring.
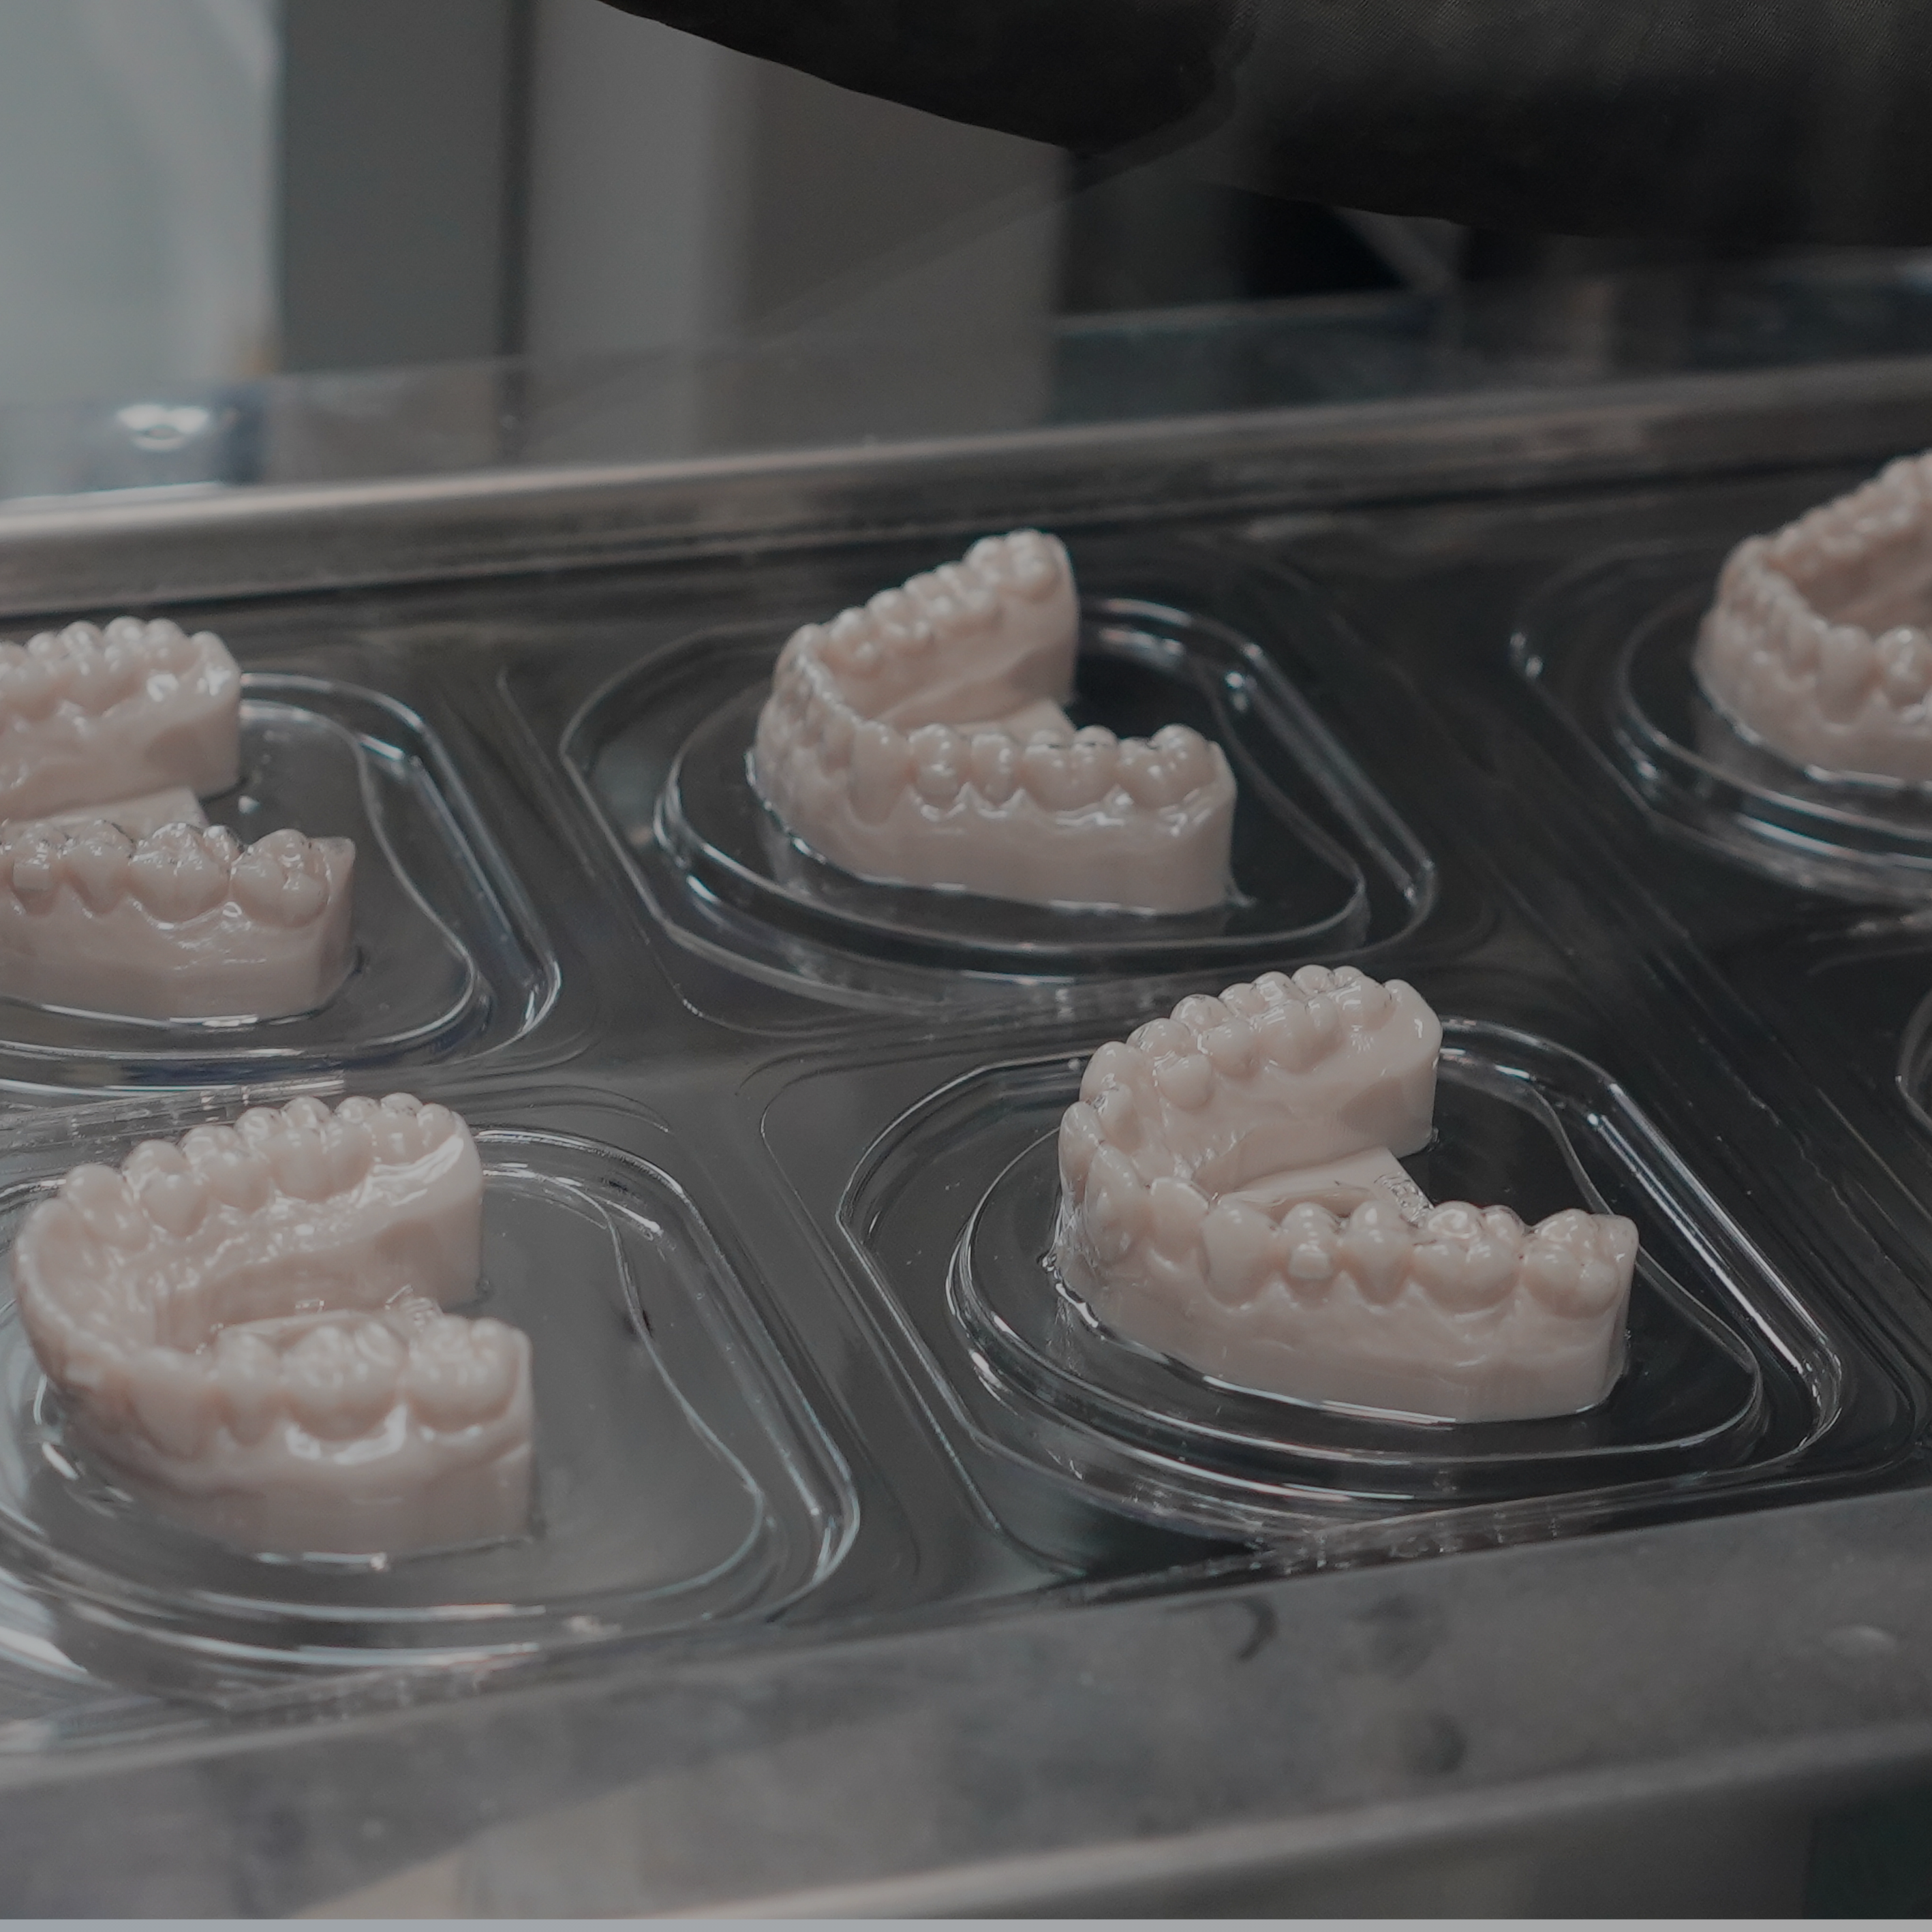
Step 3. Clinical Setup
-
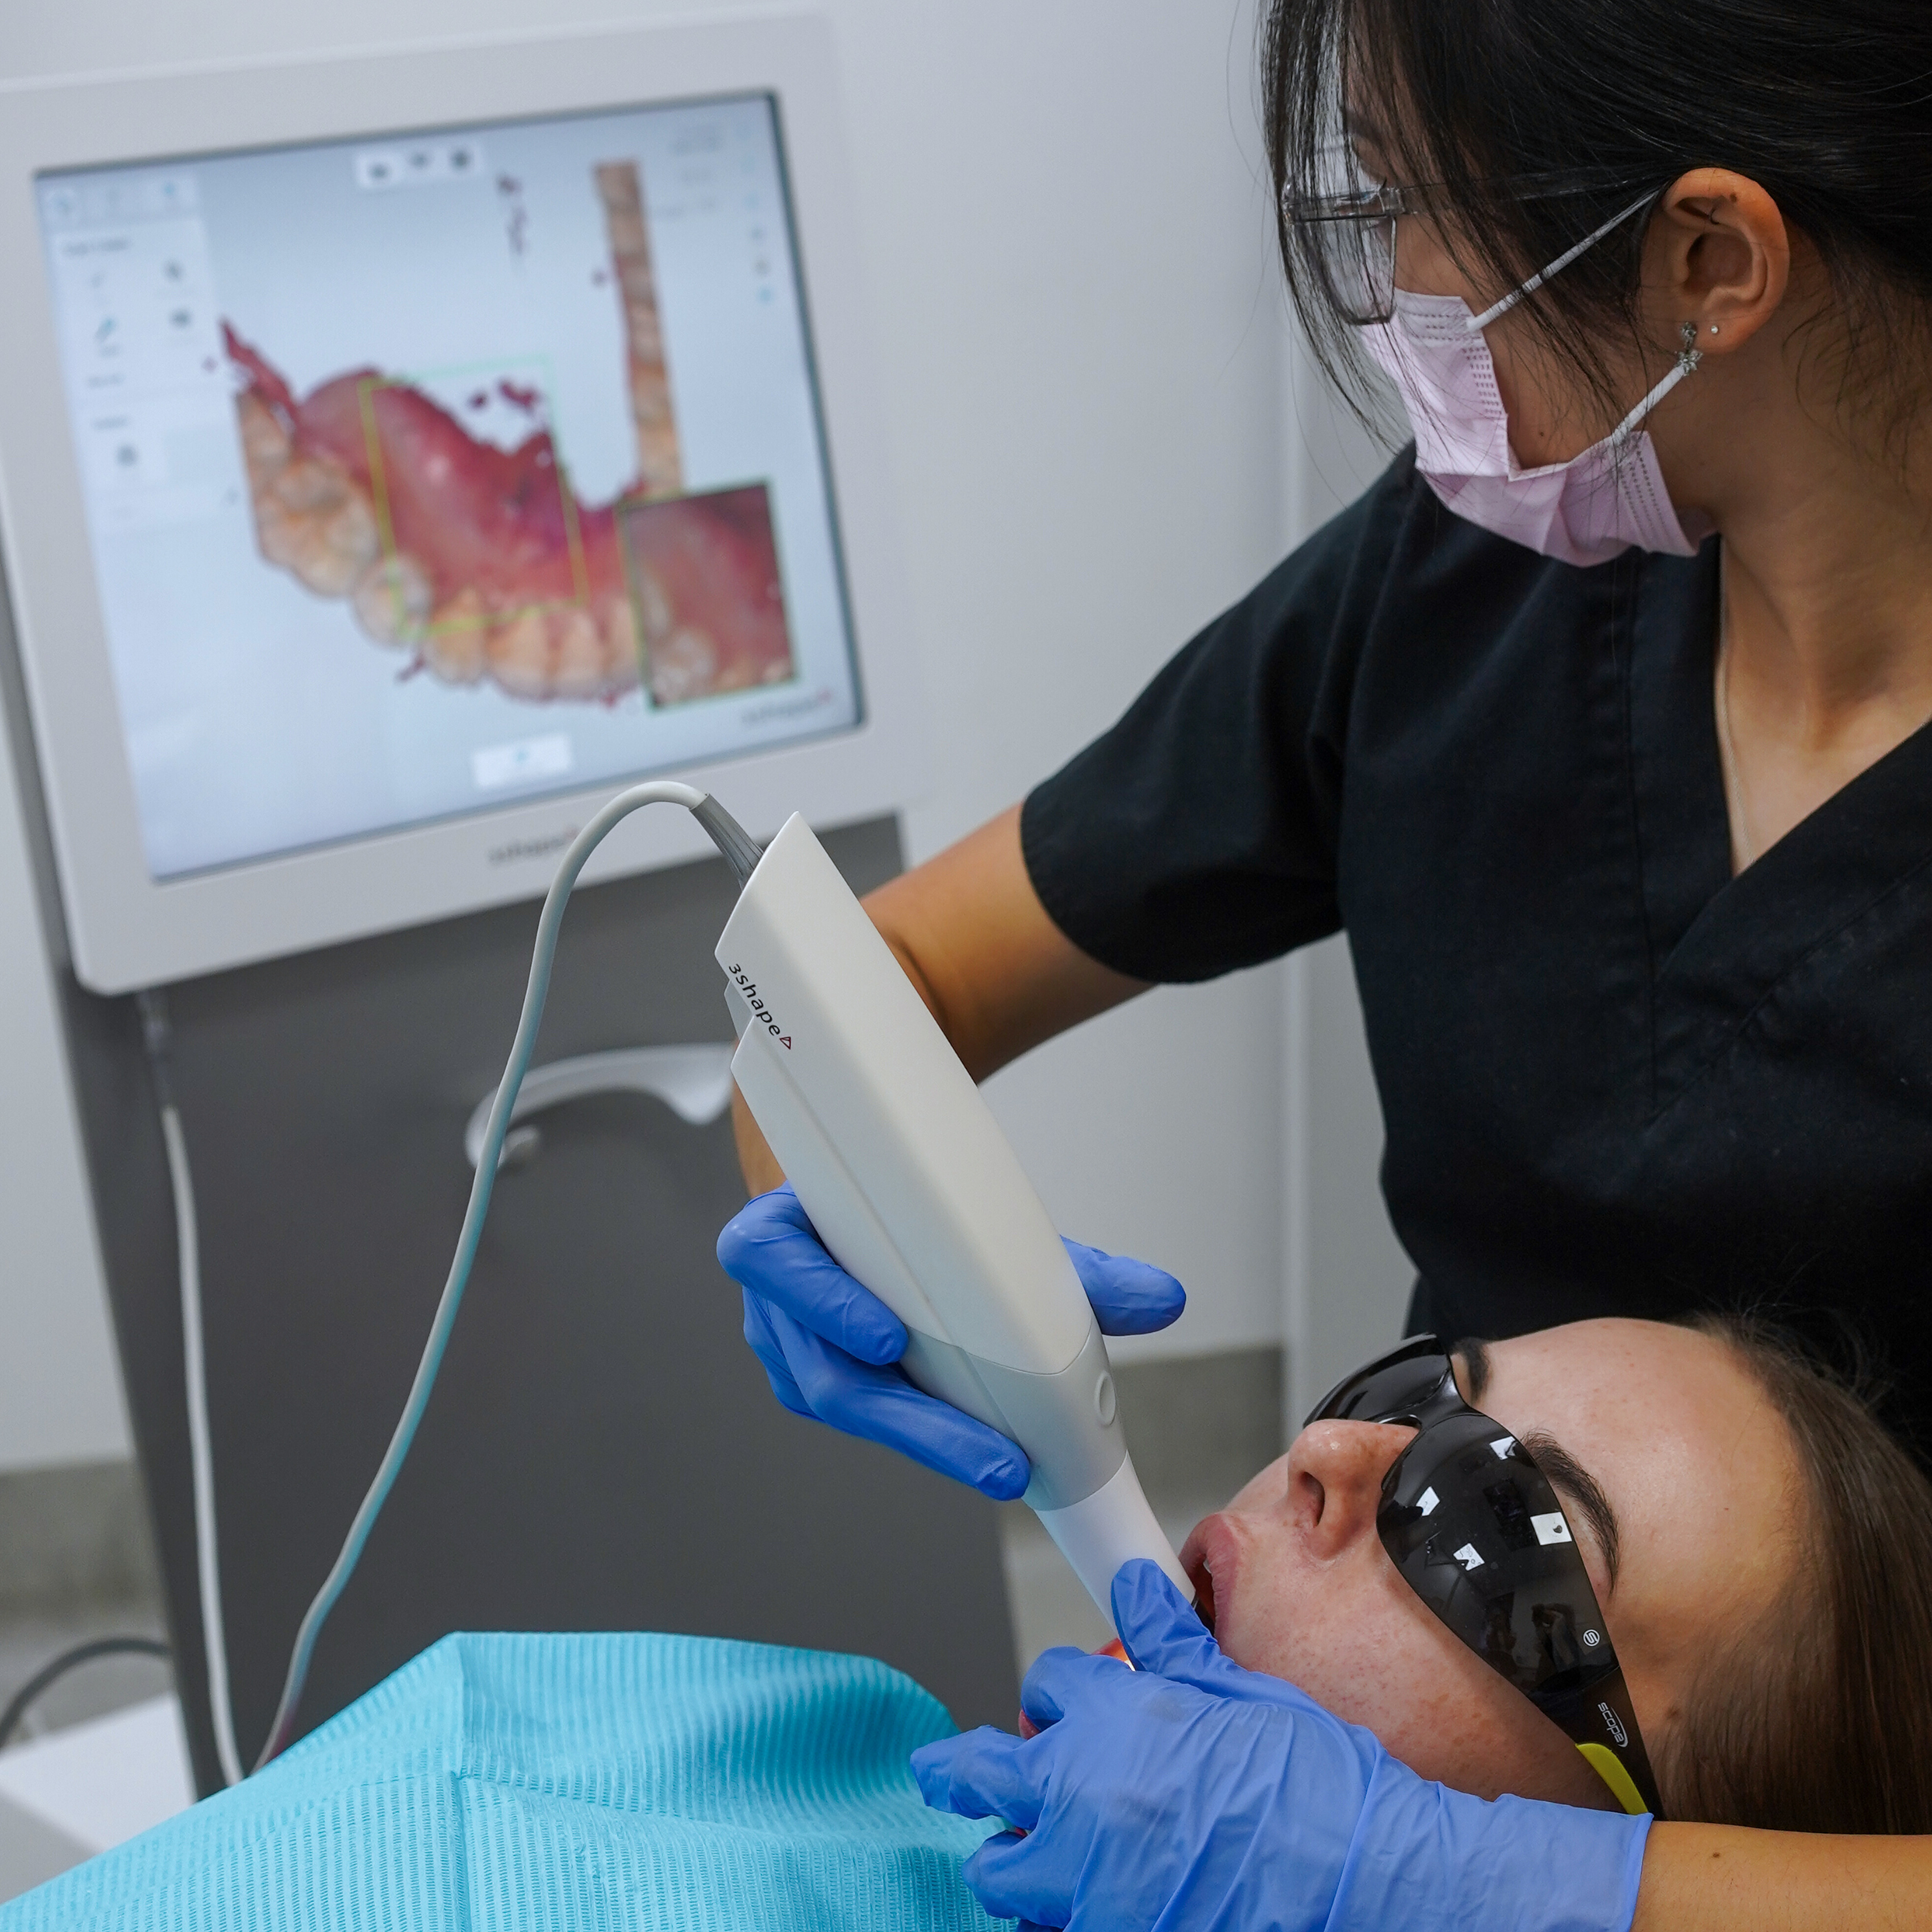
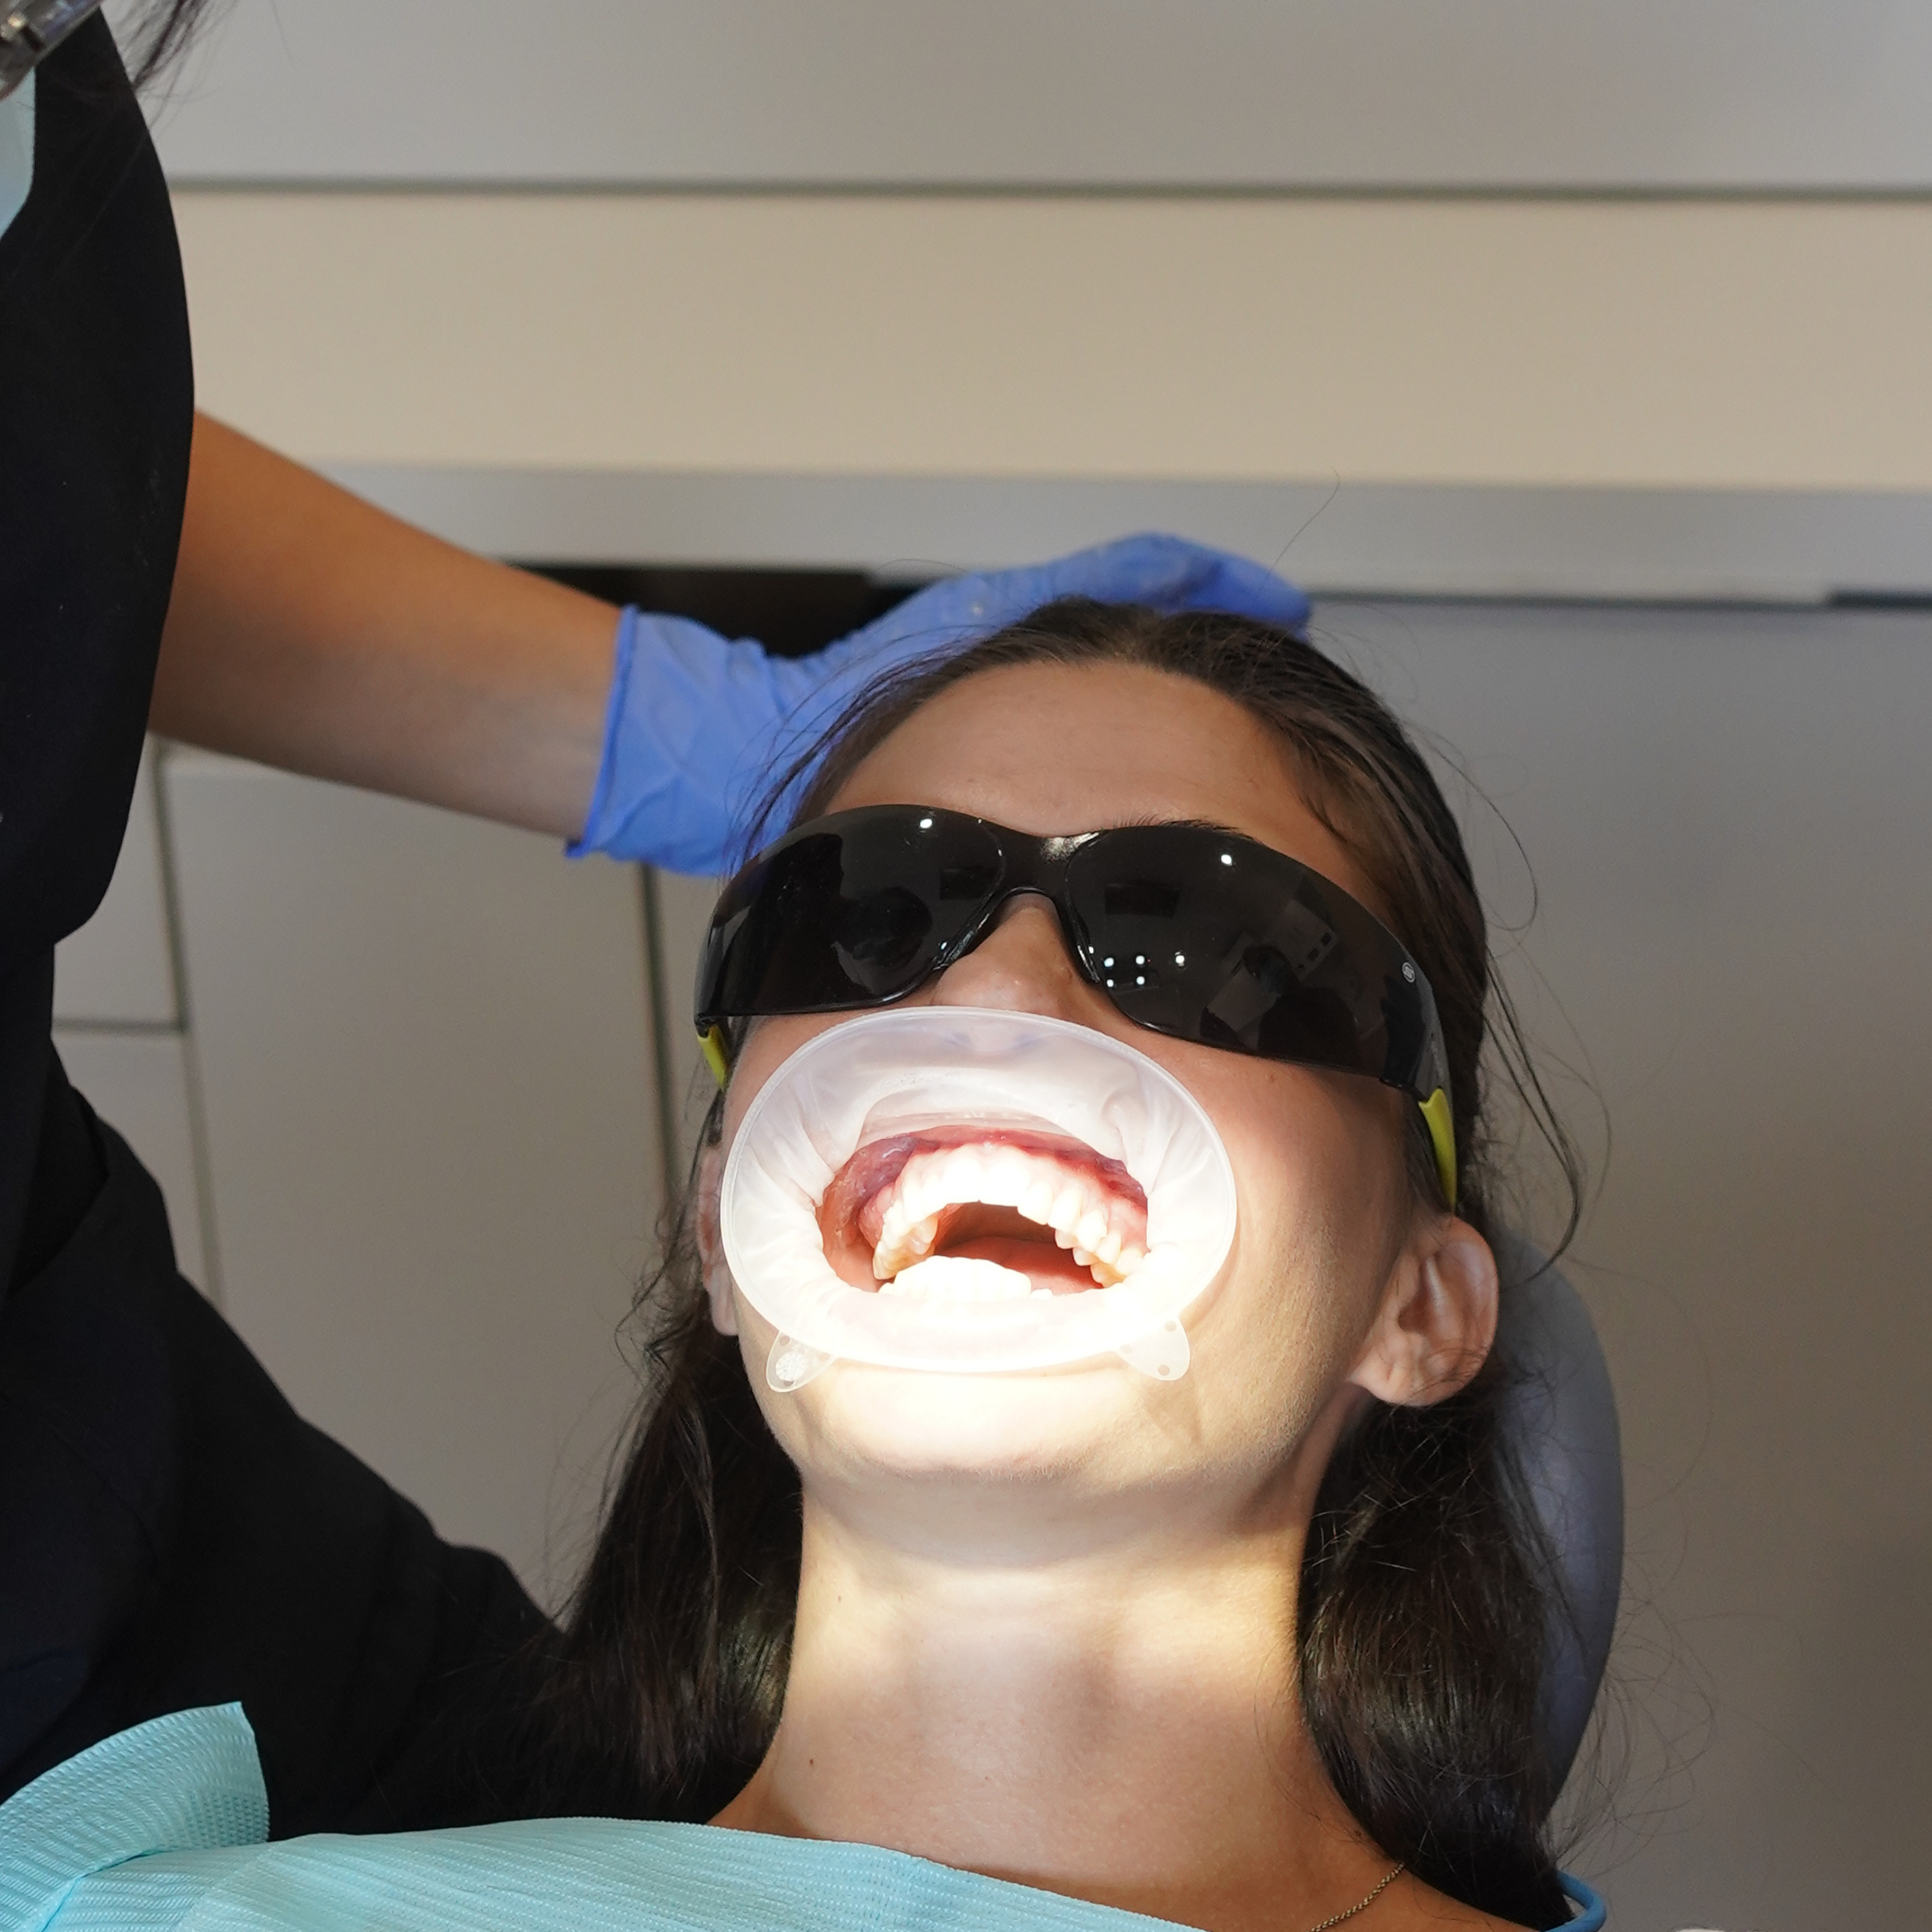
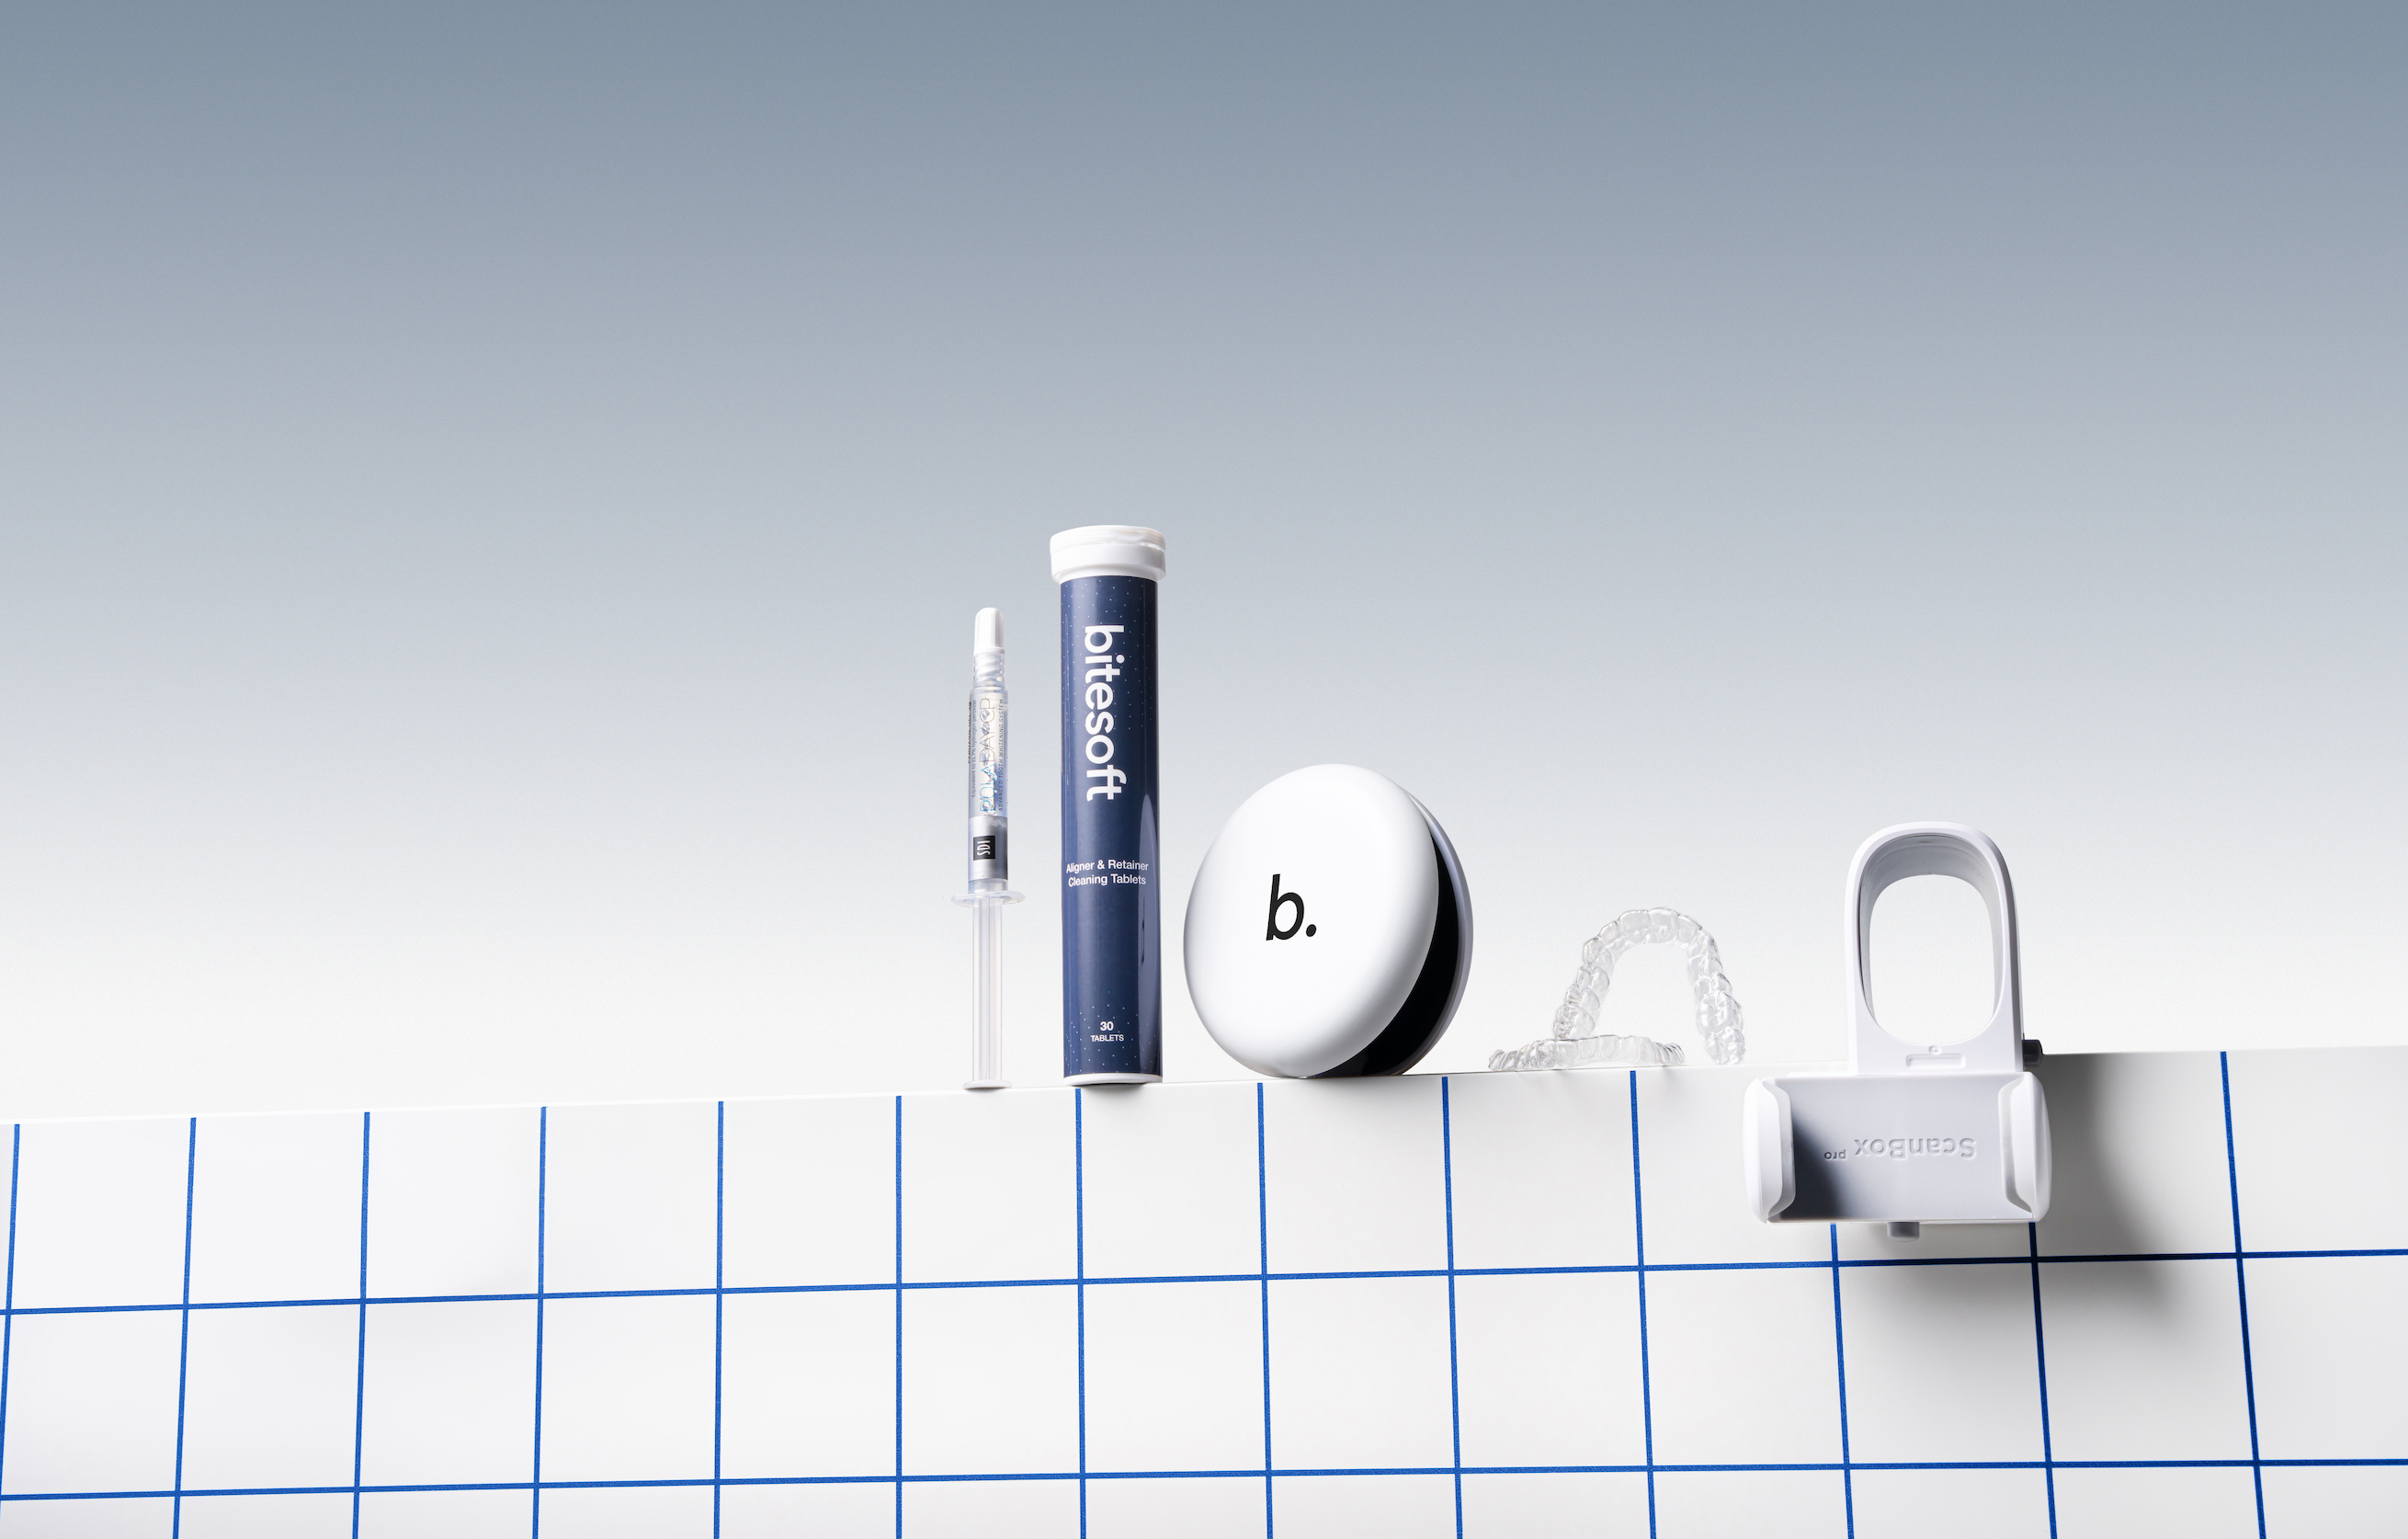
Confirm your intraoral scanner settings (STL file export).
-
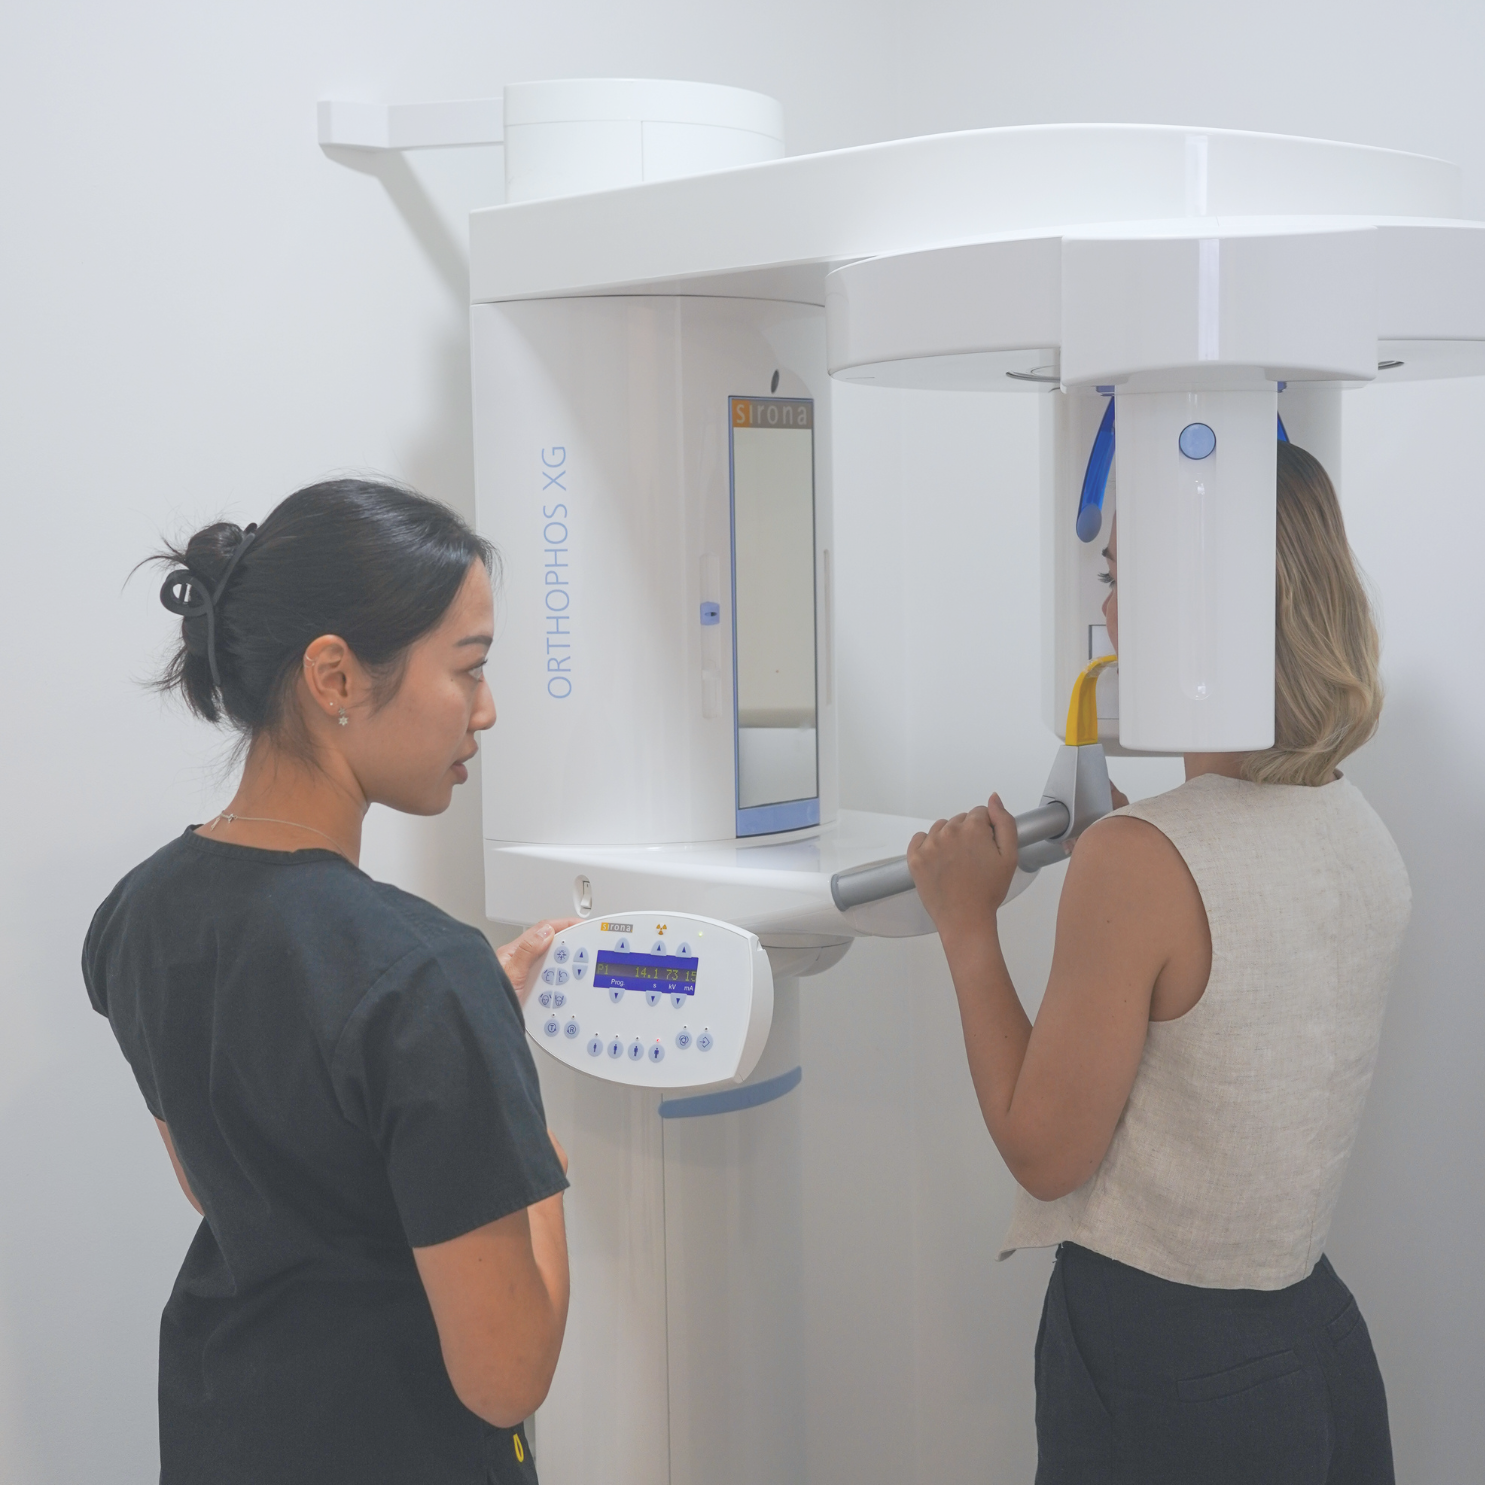
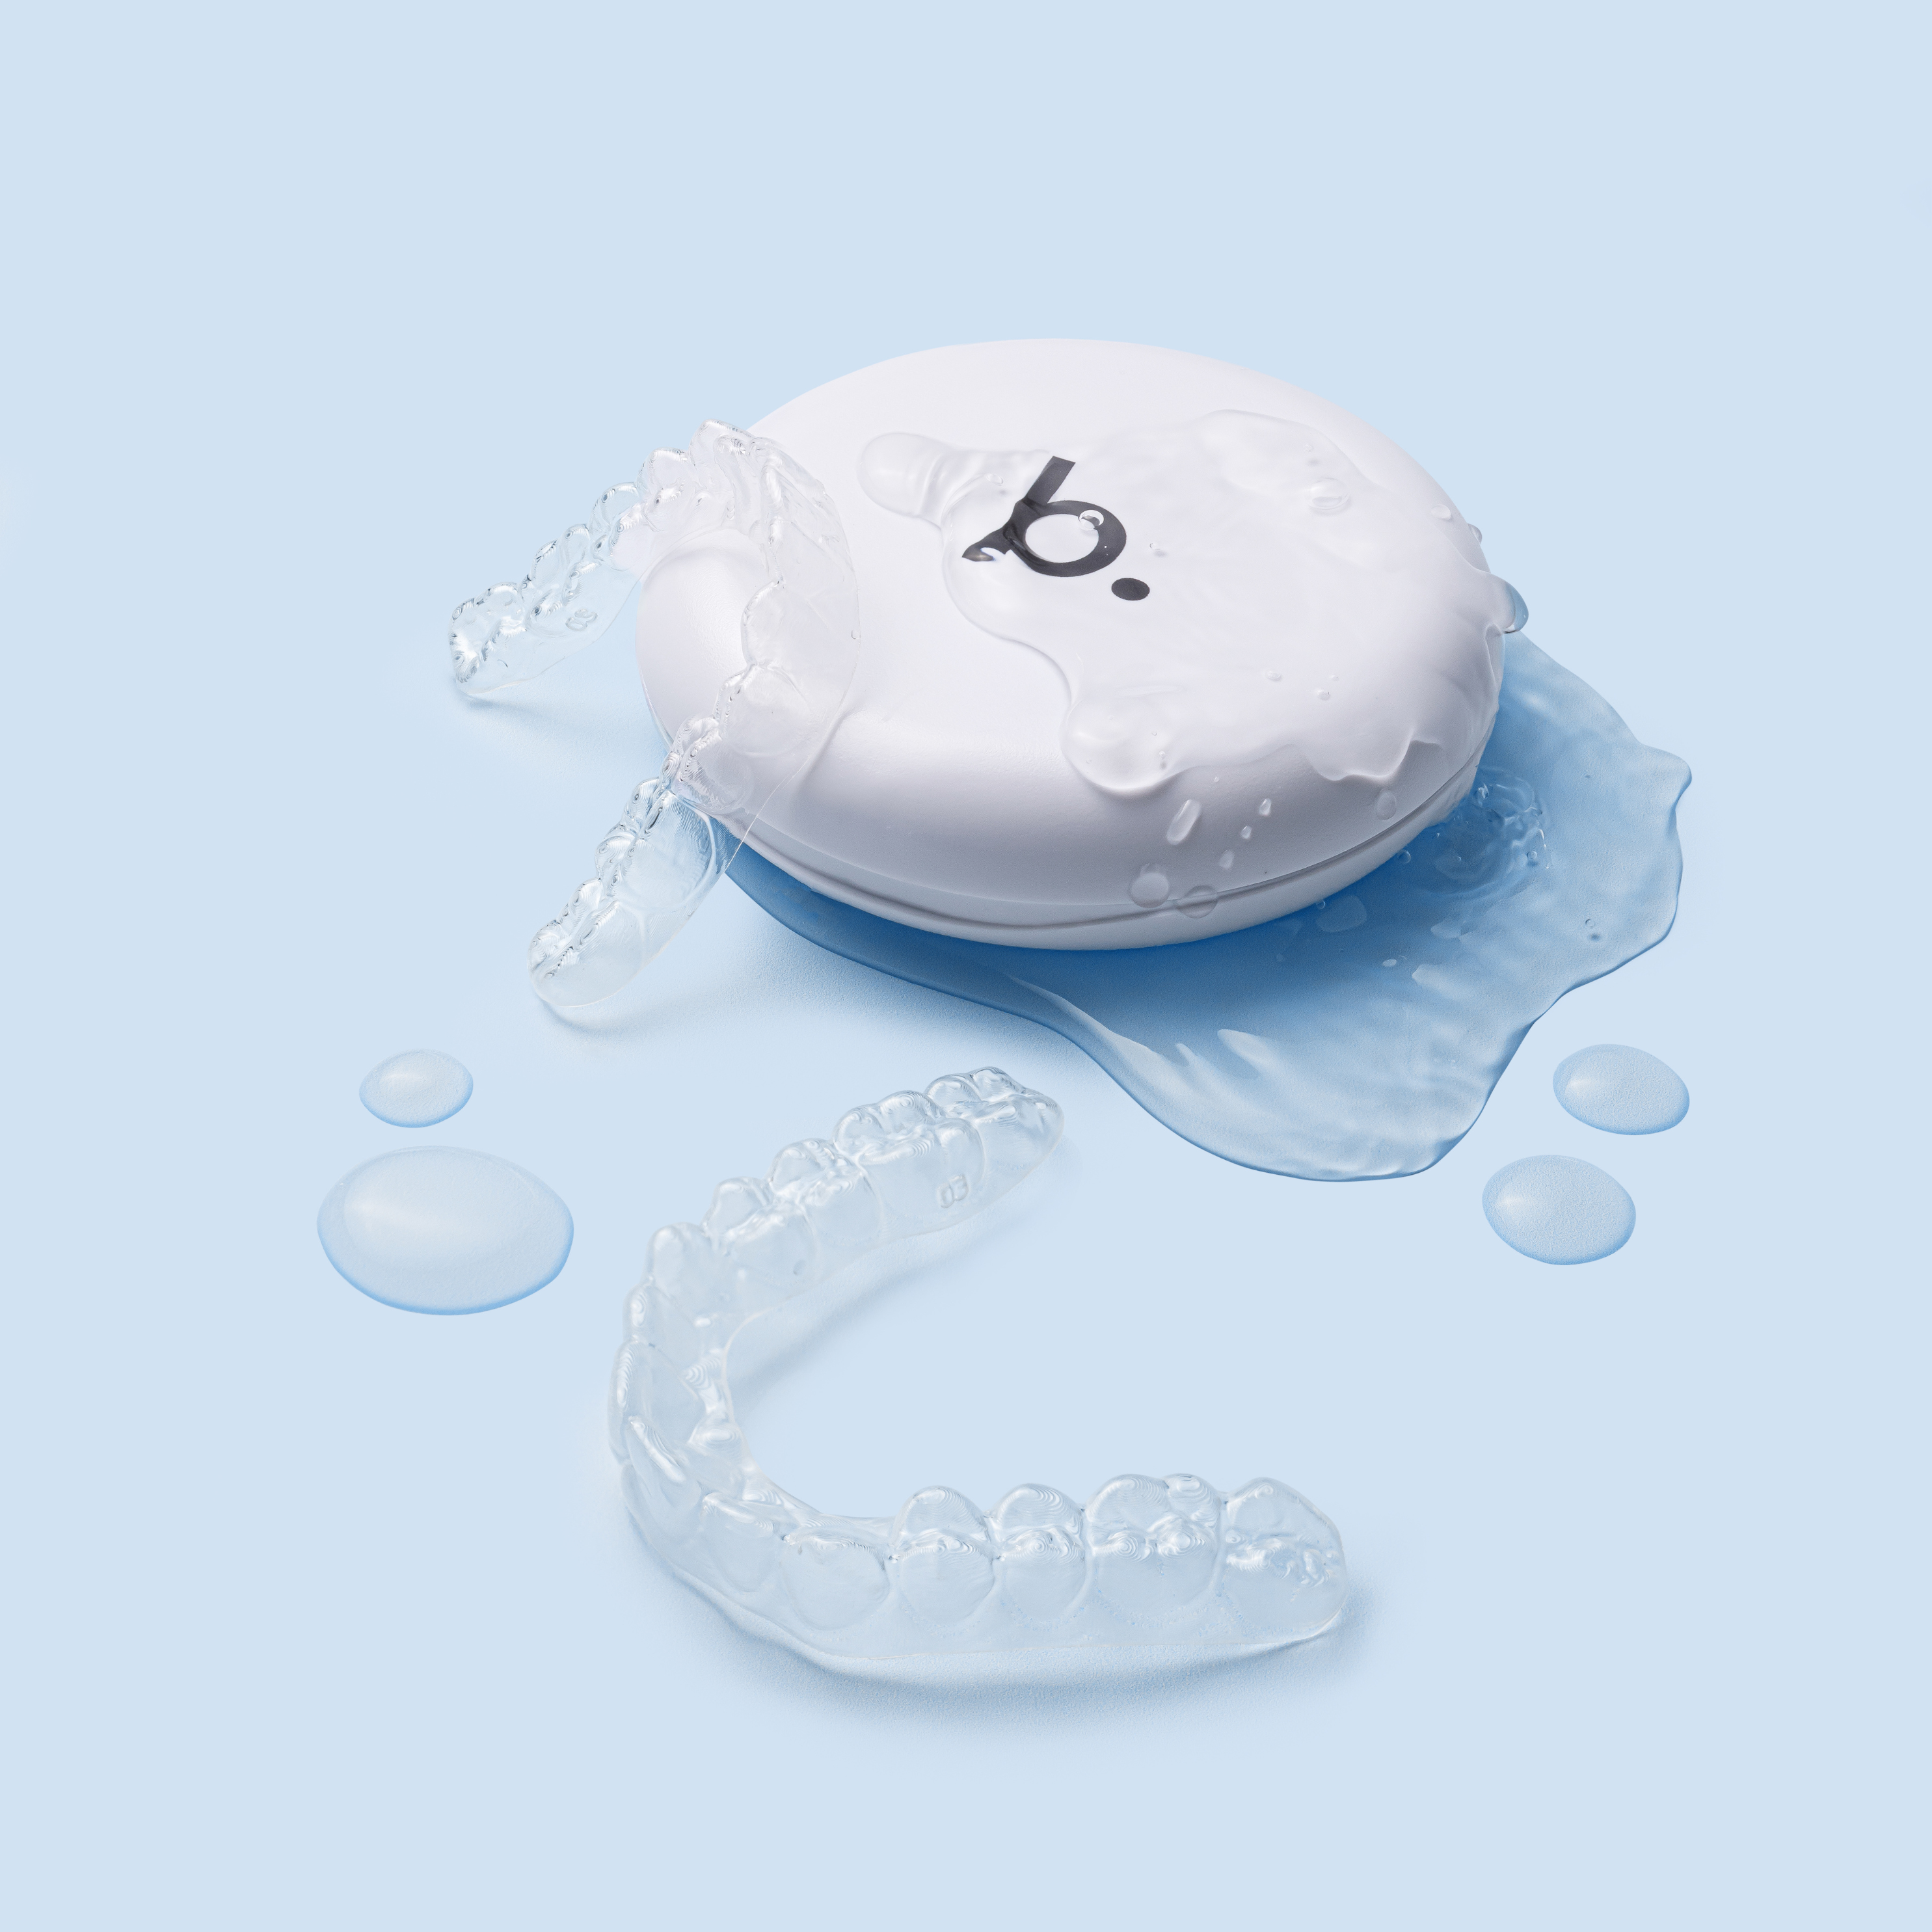
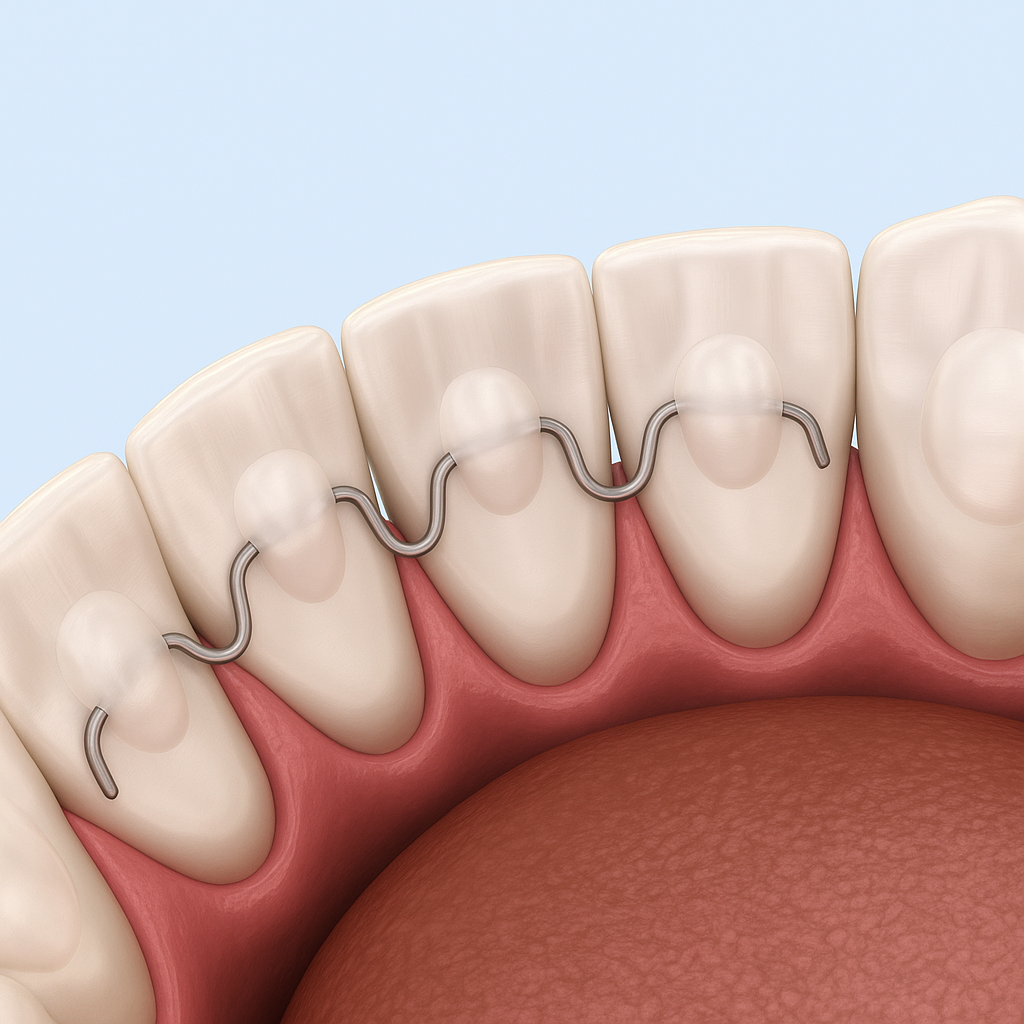
Prepare your clinic tools: cheek retractors, IPR strips/burs, bonding equipment for attachments.
-
Download clinical guides (attachments, IPR, refinements) from the Partner Hub.
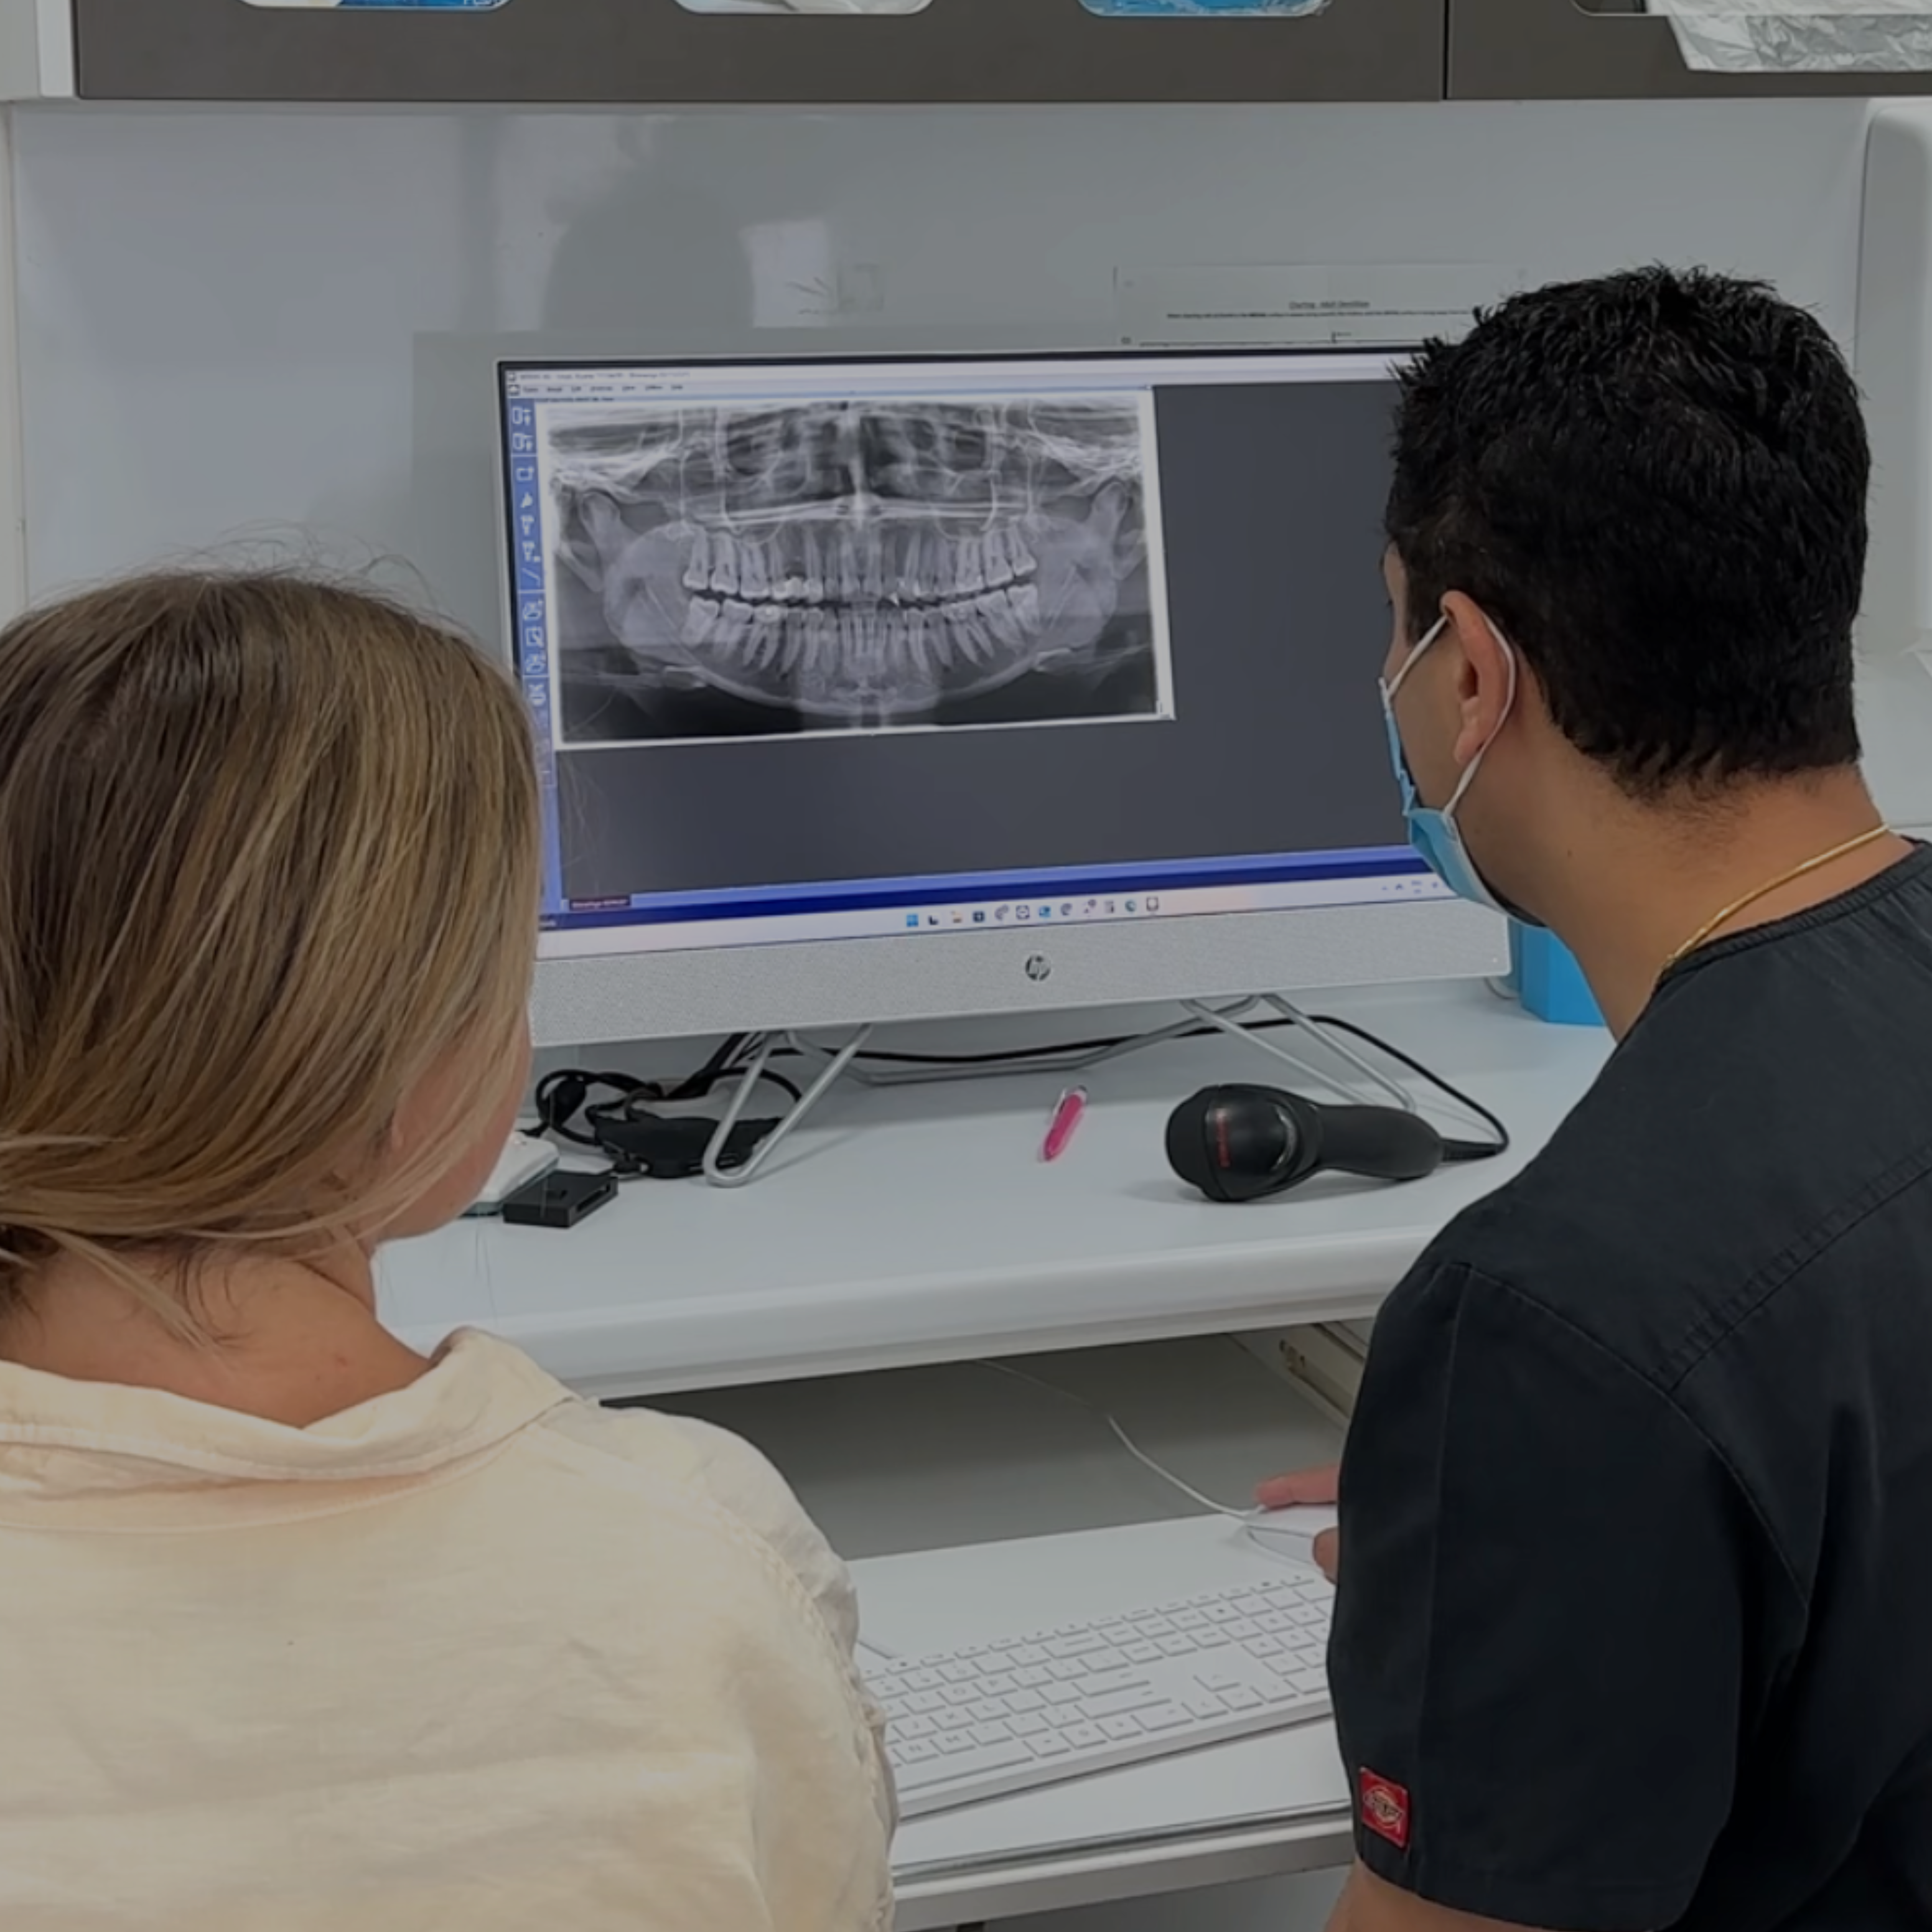
Step 4. Understand the Patient Workflow
-
Patients come to you pre-qualified through bitesoft marketing and sales.
-
All treatment plans are designed by our orthodontic team and pre-reviewed by Orthodontists.
-
You’ll review the treatment plan and annotated PDF plan + 3D simulation → then approve or request changes.
-
Once approved by clinician and patient, aligners are produced and shipped directly to your clinic.
Step 5. Submit Your First Case
-
Log in to the Portal → click “Submit New Case”.
-
Upload scans, photos, and notes on treatment goals.
-
Orthodontic team reviews → plan created → you approve.
-
Patient signs off on their treatment plan before production begins.
Step 6. Monitoring & Refinements
-
Patients are set up on bitesoftMonitoring™ by our team (no clinic admin required).
-
You’ll only be notified if a clinical issue needs your attention.
-
Refinements are included free for compliant patients — no dentist cost.
-
Compliance is tracked via patient scans, reducing refinement rates and ensuring predictable outcomes.


Share:
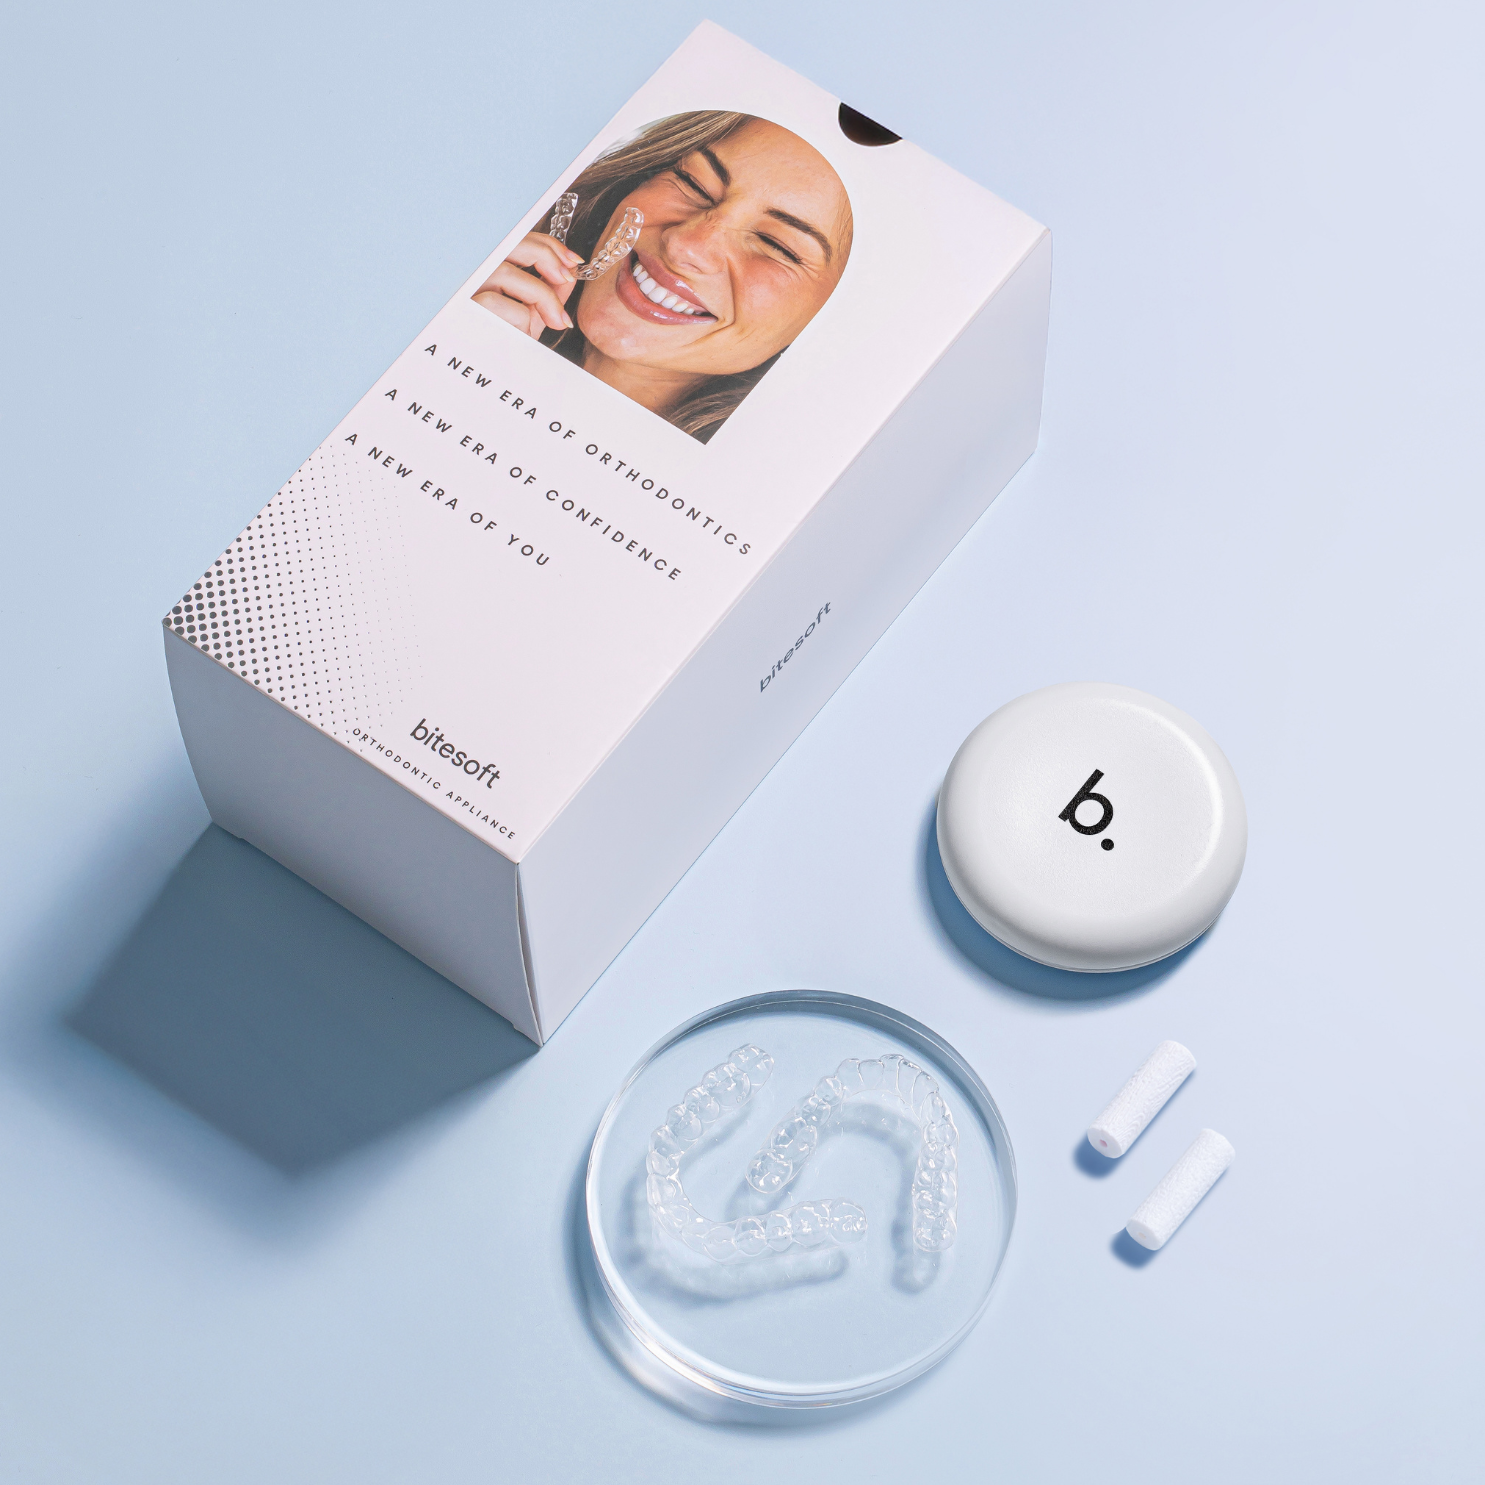
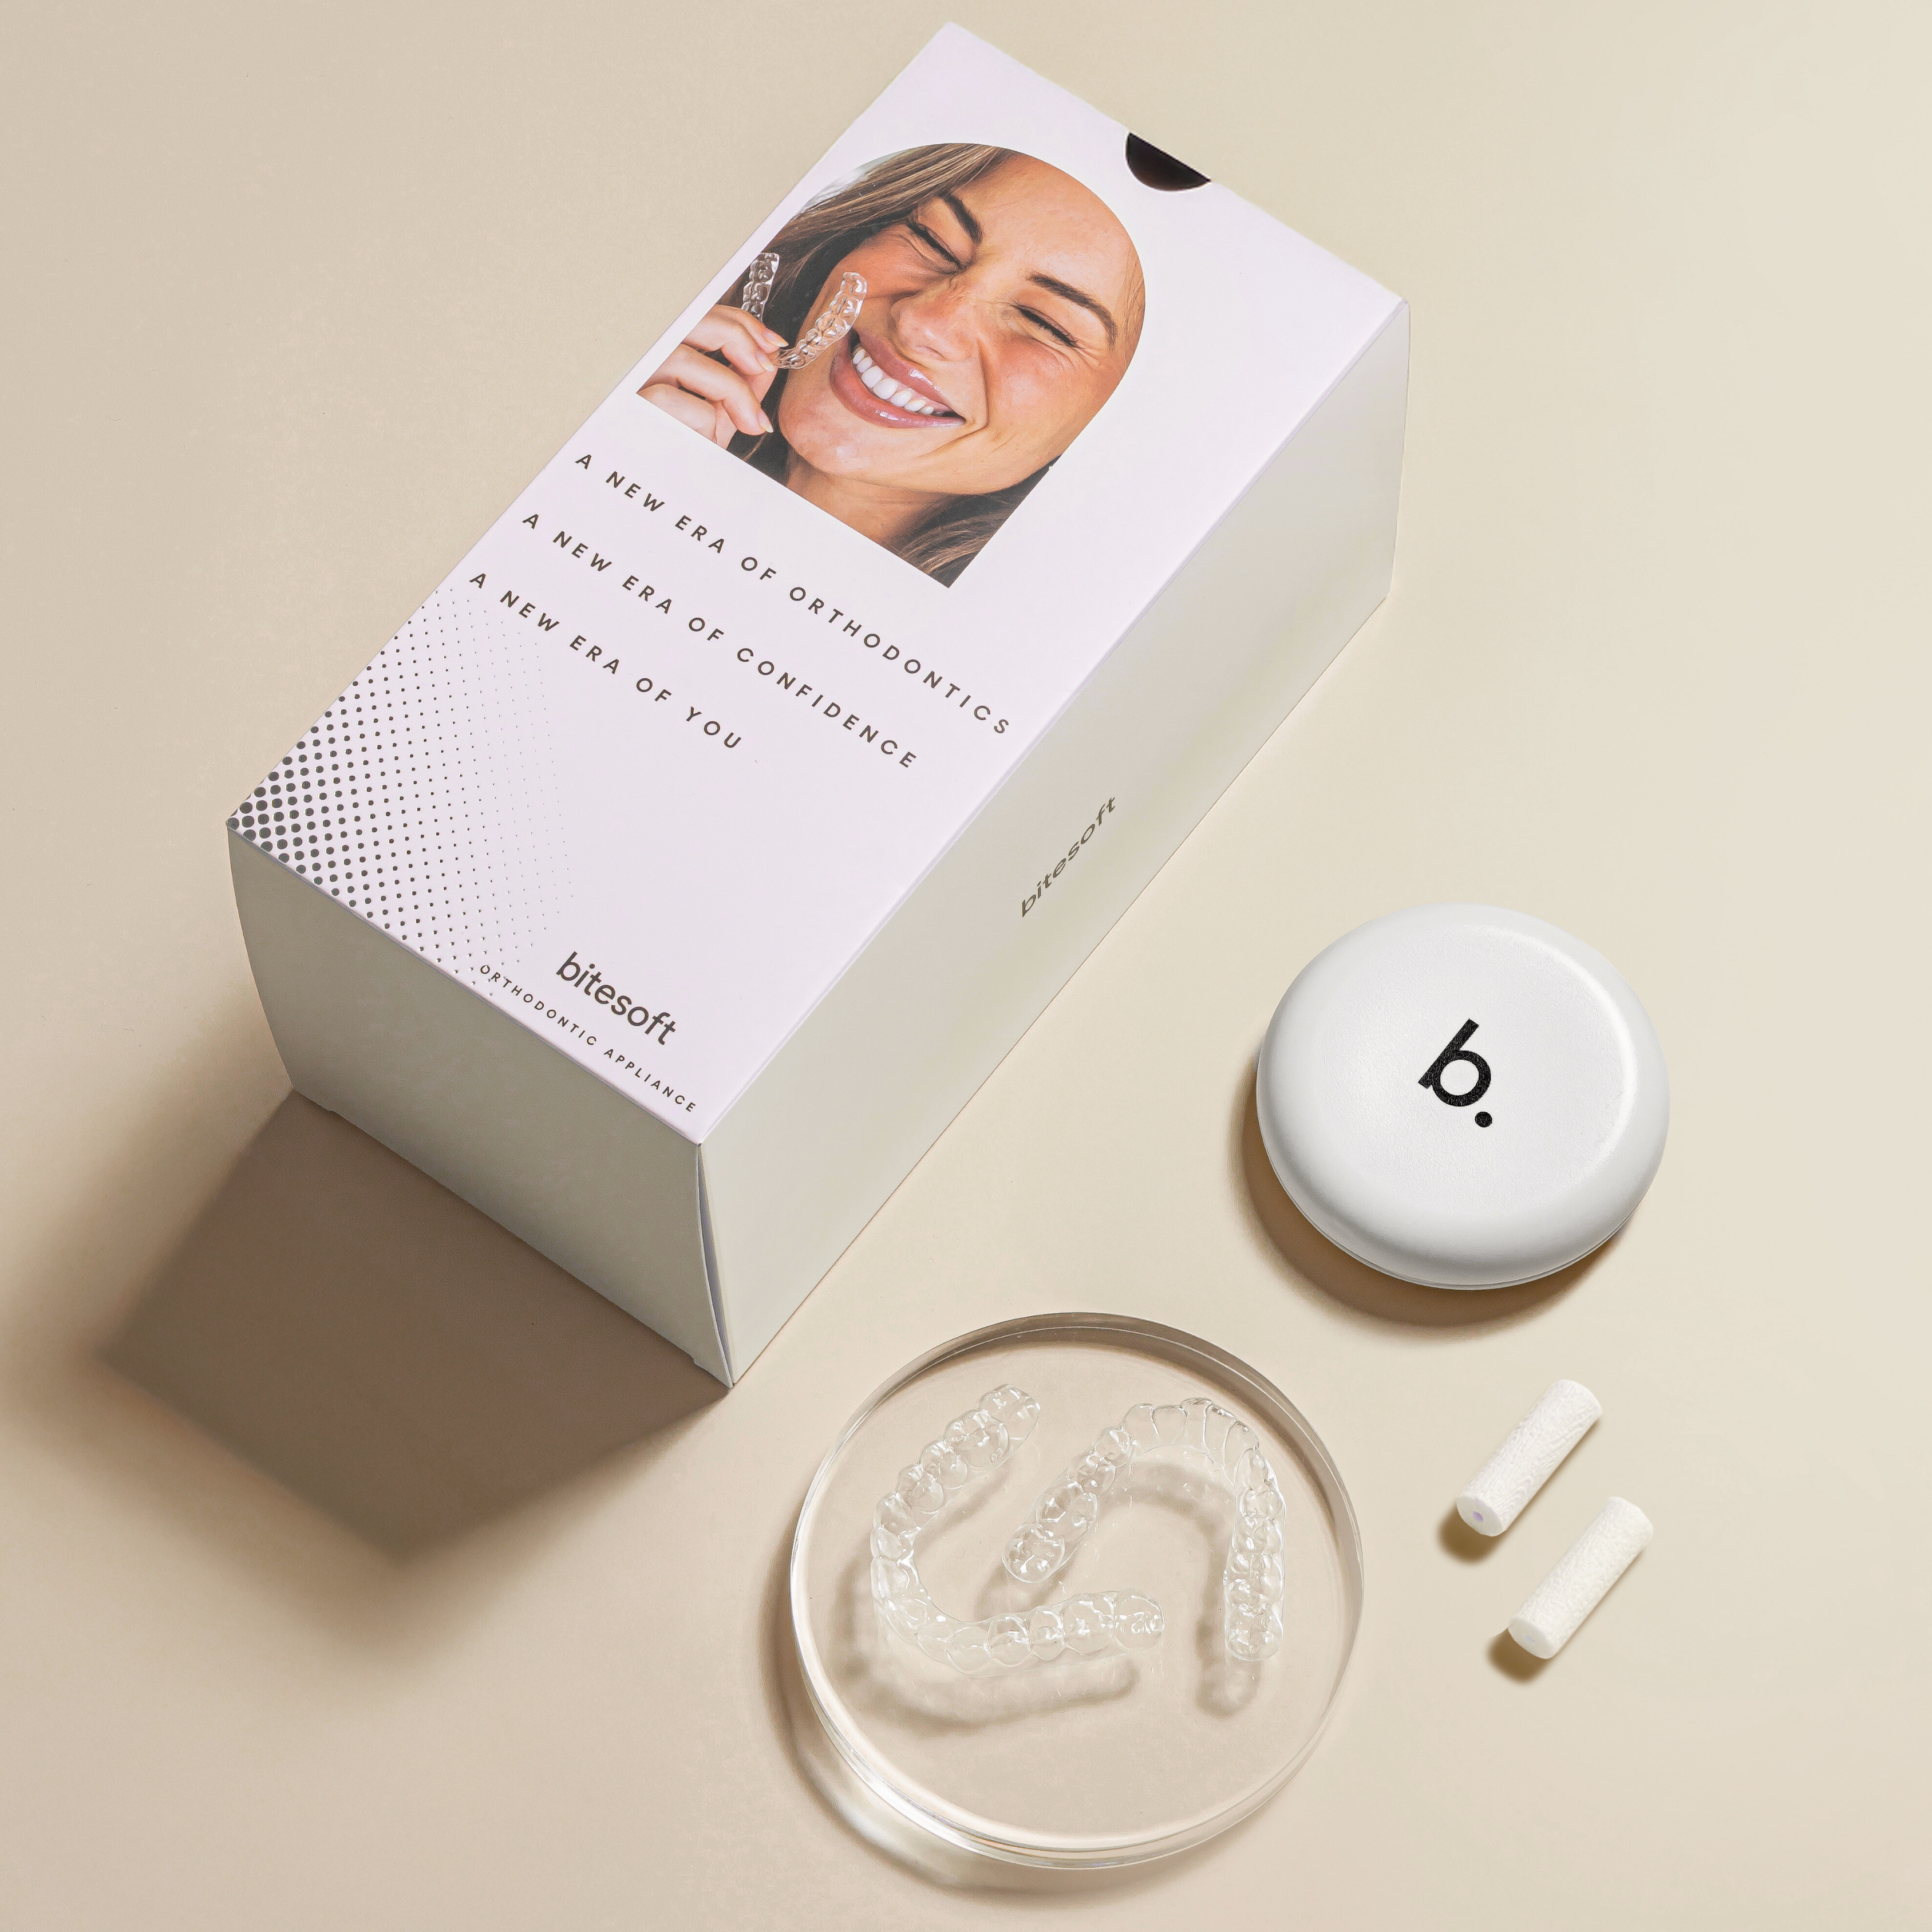
What You’ll Need Before You Start
FAQs: Common Questions from New Partners